At the end of June, I spent two nights at Mont Sutton’s Camping au Sommet. This is a beautiful mountain top campsite at 840m altitude with panoramic views over the Estrie region and is only a 2 hour drive from Montreal, Qc.
While it is not an easy hike to get to the campsite, this is a great site for beginners because of the access it has to support from the Mont Sutton team as well as drinking water, washrooms, cell service, firewood, food ($), and drinks($).
When you arrive at the top of the mountain, you are greeted by Mont Sutton staff who show you around the space and bring you to your campsite. They are very welcoming and warm and happy to help. The staff member sleeps on top of the mountain too! Especially because my first night at Mont Sutton I was camping alone, this made me feel looked after and safe.
The Campsite
Camping au Sommet campsites are divided into three areas, the east, central, and west zone.
Within about 5 minutes walk of all zones, there is the main ski chalet which has compost toilets and drinking water available. There is also a store with coffee, soft drinks, beer, wine, snacks, and food to grill (reserve in advance). This way, if you forget anything, you can easily buy it and you do not have to hike up with your food. The chalet has a beautiful terrace with tables which is a lovely spot to watch the sunset and eat dinner.
While you cannot have a fire at your campsite, there are collective fire pits where you can sit, cook your dinner, and enjoy the company of other visitors. There is firewood (and a wheelbarrow) available to start a fire in your zone, or you can go to the central campfire which is started by a member of the Mont Sutton team. I visited the central campfire both nights that I camped and had a lovely time meeting other campers.
I had a hard time deciding which campsite to book online because there is not a lot of information on the different views from each site. Because I stayed two nights I got to test out two sites. When I visited the campsites were not all booked, the Mont Sutton staff let me change my campsite after getting to the top!
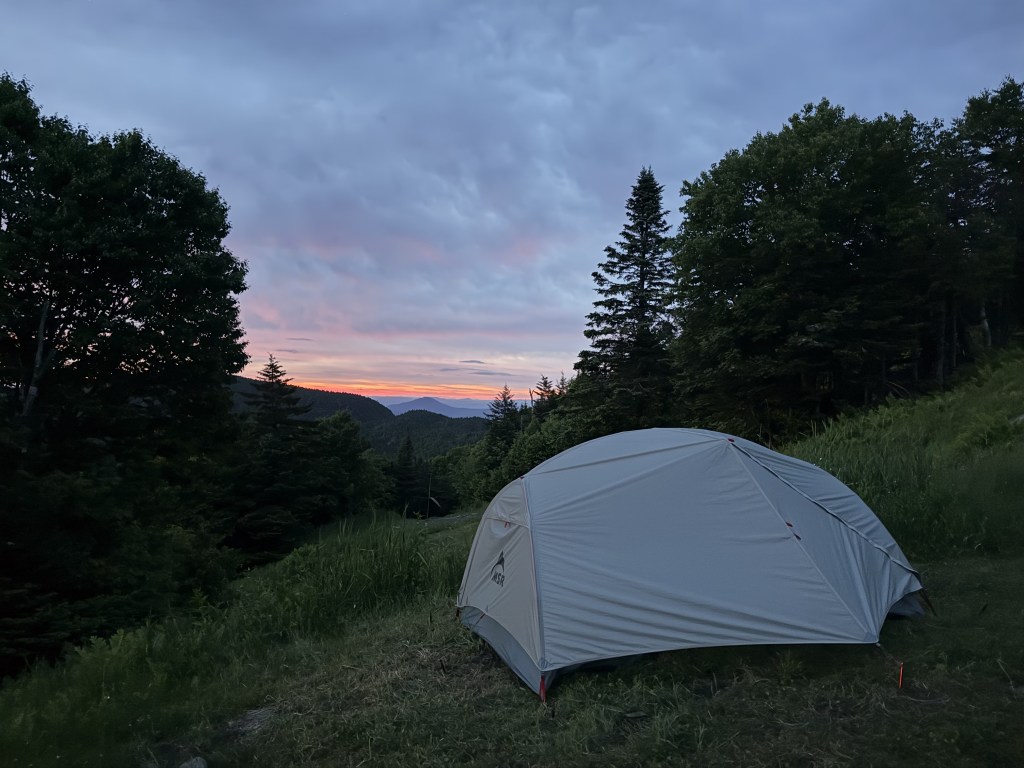
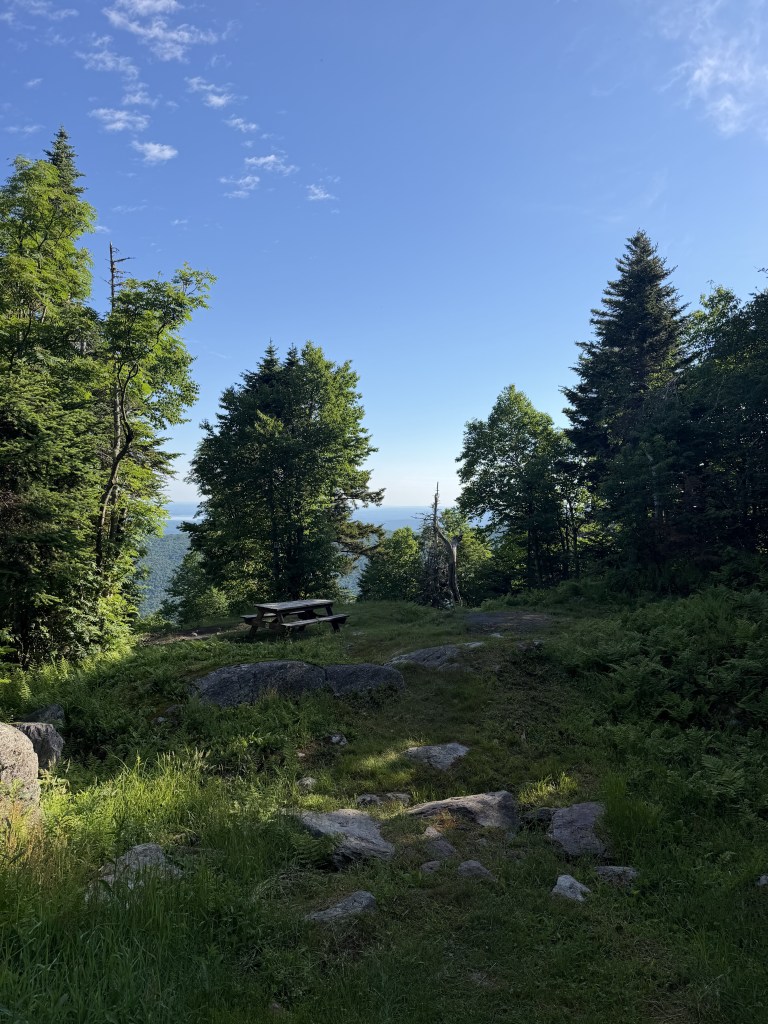
I stayed in sites 19 and 4 which both provided beautiful views. On my first night, I stayed at site 19 in the central zone. It was just below the chalet, so I had close access to all of the amenities. It had incredible sunrise views looking out over the Montagnes-Vertes natural reserve.
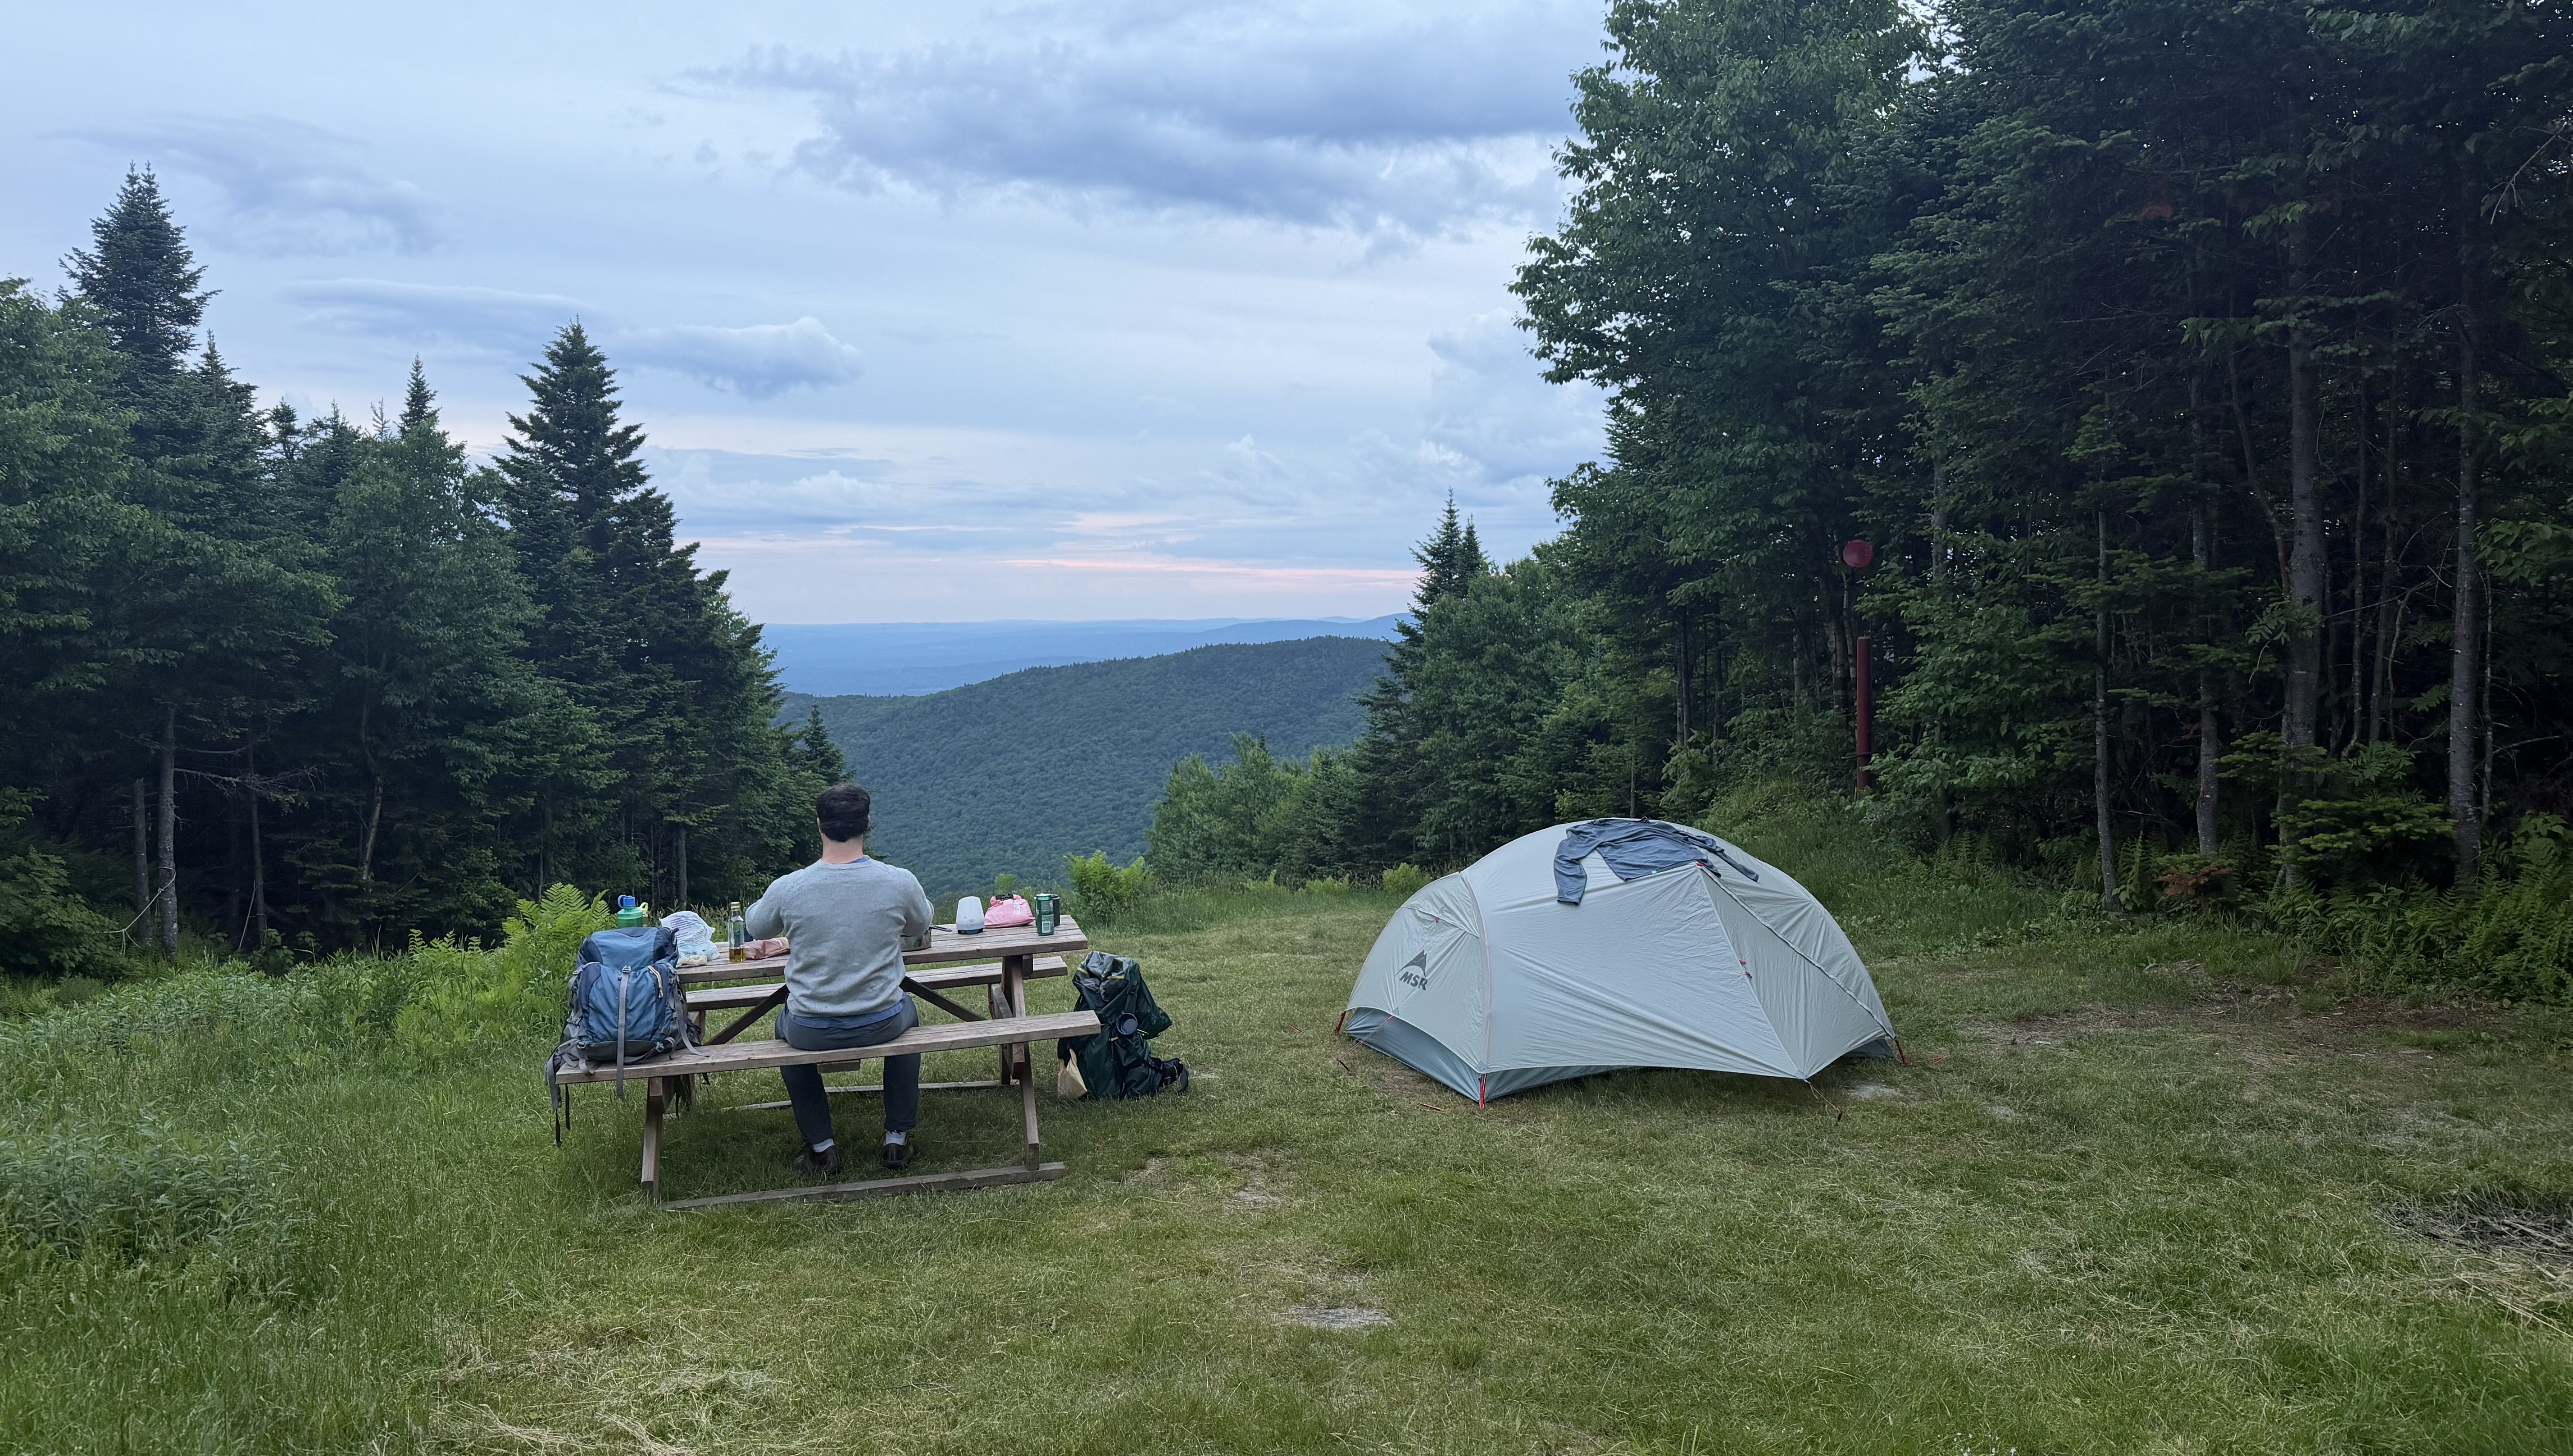
My second night, I stayed at site 4, which was in the eastern zone and felt a bit more private. I had not originally booked this site but was so happy I moved my tent here. The site had beautiful panoramic views and was right next to a communal fire pit. When I go back, I will stay in the eastern zone, because I loved how quiet and peaceful it was. On the map, it looks as if the eastern zone is at higher elevation, but in reality it is a flat easy walk back to the chalet and central zone.
Getting to 840m elevation
The campsites are located on top of a mountain, but you have a few ways to get there! I loved hiking, so I hiked each time and tried a few trails and different ways to get to the campsite. I would recommend hiking up to the campsite through the Sutton Natural Environment Park, even allowing extra time to stop at Round Top or Spruce Lake. At the end of your stay, I would recommend either hiking down through the park or on the ski slopes.
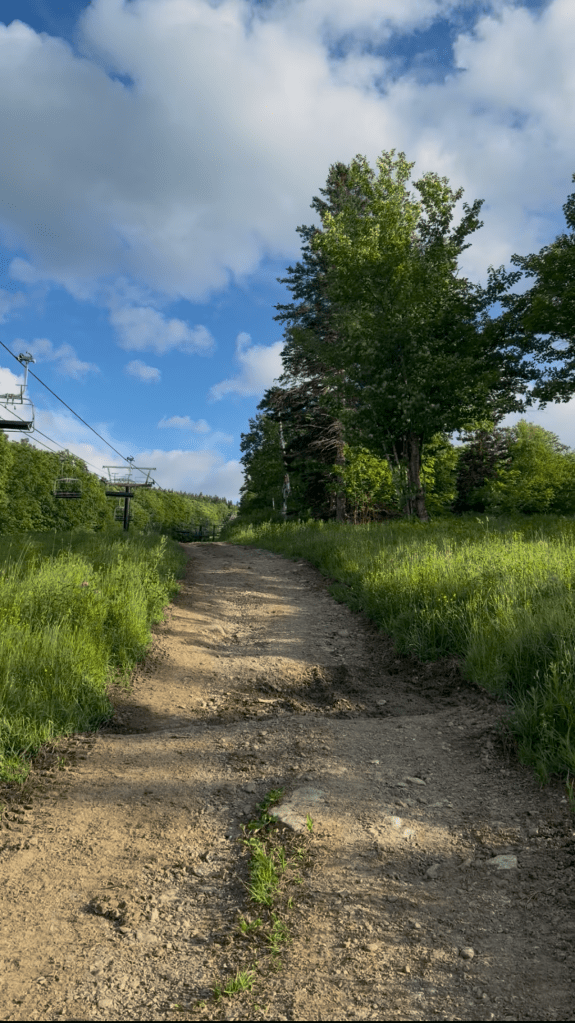
- Hiking the ski hills (free): Hiking on the ski hills is the only free way to access the campsite. You can start at the parking lot at 400m or 520m to reach the top of the mountain. On both trails, the hills are steep, but particularly when leaving from the 520m parking because you are hiking up the more advanced ski hills. The hike from the 400m parking lot leads you through some construction on the mountain, at the start, but is a beautiful climb, particularly around sunset. I would not recommend this hike to beginner hikers, because it is physically demanding, particularly with a heavy backpack.
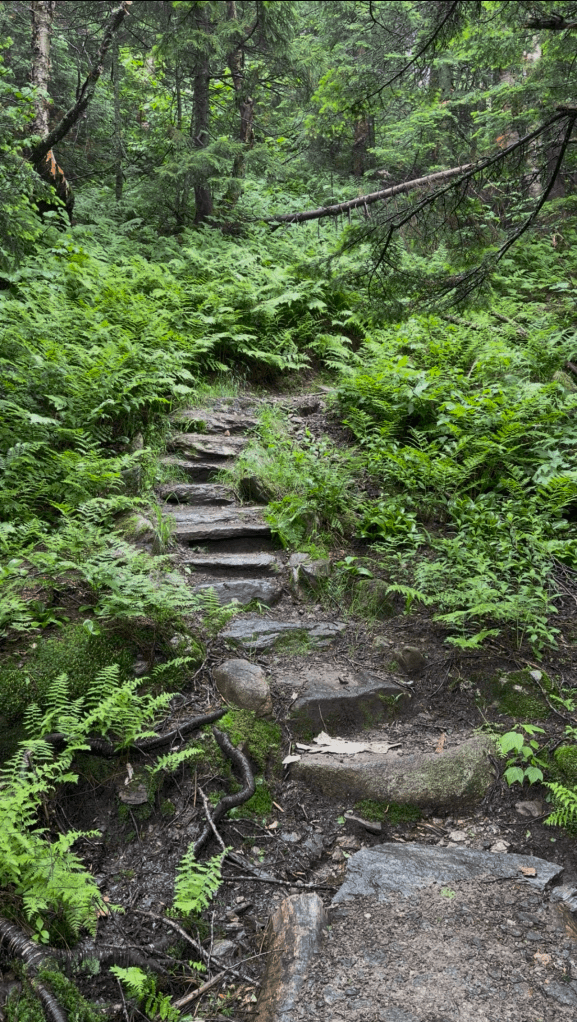
- Hiking in Sutton Natural Environment Park ($): This is by far my favorite way to get to the campsite. The trail leaves from the 520m parking (P5) lot and leads you through well maintained hiking trails in the forest. The trail is in a protected area so you will need to buy a park pass to hike. The passes are $9 per adult per day, which along with donations allows for the area to remain protected and well maintained. You can get tickets at the welcome desk or online. The trails are well patrolled by volunteers who will check your ticket.
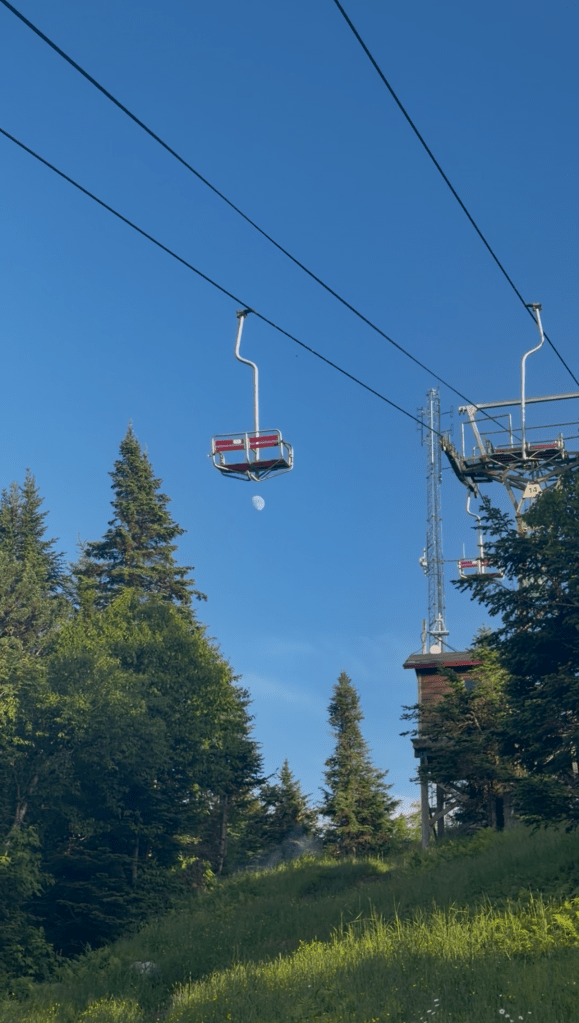
- The chairlift ($): If you have heavy gear or feel intimidated by the hike, you can reserve a chairlift ride to your campsite. The lift goes from the chalet at 400m to the chalet at 680m, so you have only a 60m elevation hike to the campsite. The hours are limited, so make sure to plan accordingly if you would like to use the lift. You can pre-book your ticket online to get a discount here.
What to bring
When backpacking it is important that you bring only what you need because you will be carrying everything on your back. I would recommend wearing sturdy hiking shoes and bringing hiking poles if you have them, this will help you distribute your weight a bit more so your bag does not feel as heavy.
You will need to carry your tent, sleeping pad, and sleeping bag, as well any cooking gear your meal plan requires. I cooked simple camping meals that I could make with one pot over my backpacking stove. If you do not have lightweight camping gear, it is a good idea to camp with a few friends so you can distribute the gear across everyone’s bags. You can either bring your food, or reserve your food while booking your campsite. The full menu is here, but there are also snacks and drinks available in the chalet that you do not need to reserve.
When camping, always bring warmer layers than you think you will need as well as gear for bad weather. I brought a wool sweater and a raincoat and was very thankful I had both of these. At night it got quite cold, and it rained off and on for most of my stay.
If you are planning to visit and have any questions, do not hesitate to message me.

Leave a comment