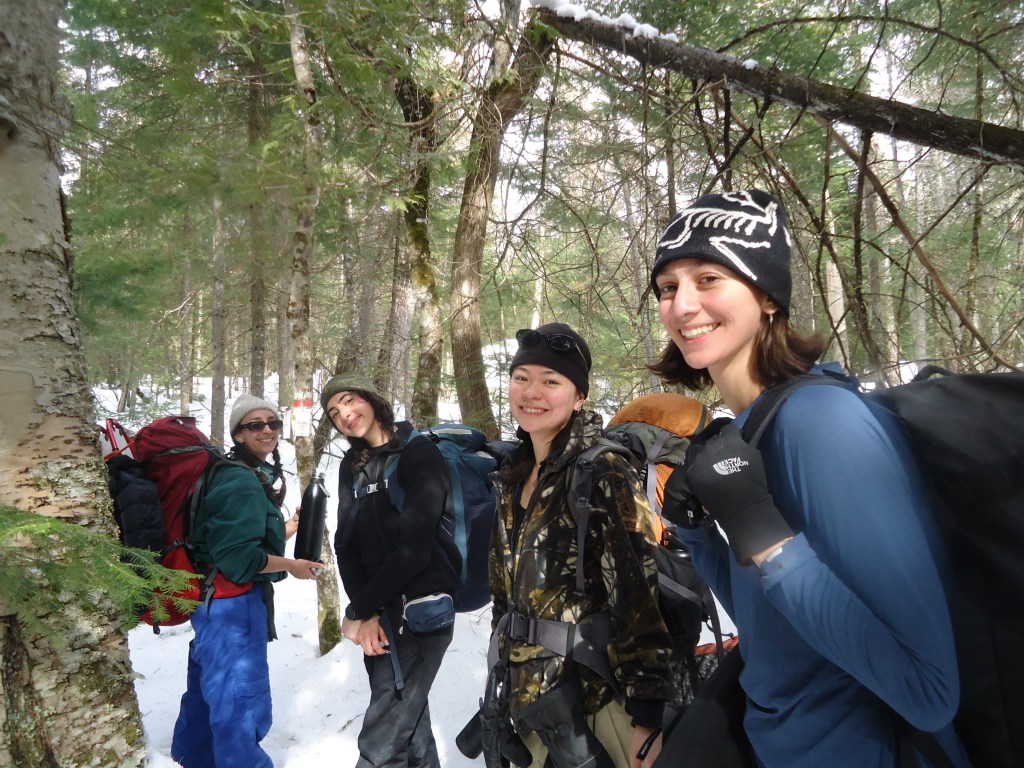
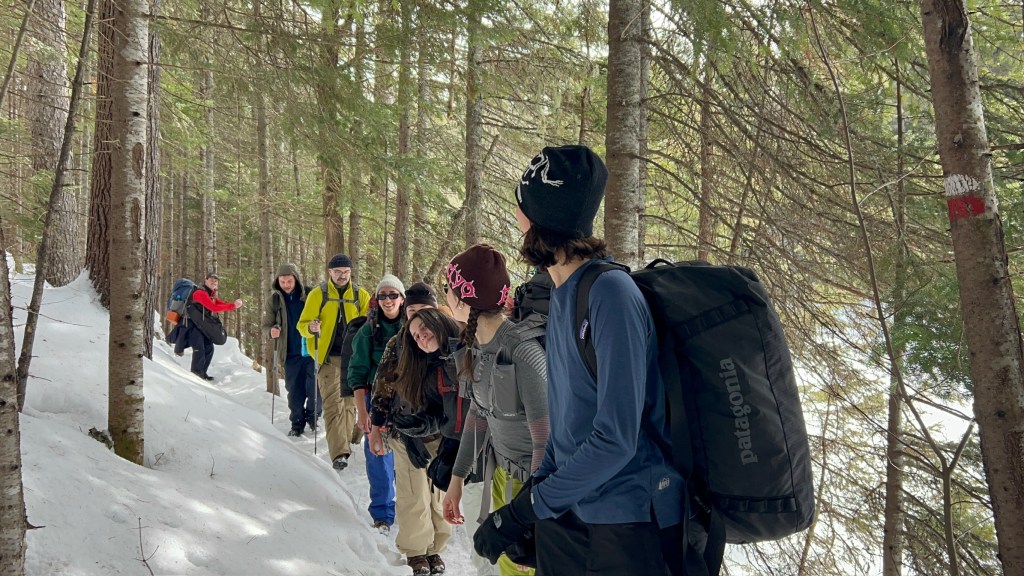
In late February, I organized a group overnight backpacking trip to a remote refuge (hut) with some of my closest friends. For many of my friends, it was their first time backpacking. None of them had backpacked in the winter before. It took a lot of preparation and gear borrowing to be ready for such a cold adventure, but it ended up being the highlight of my winter.
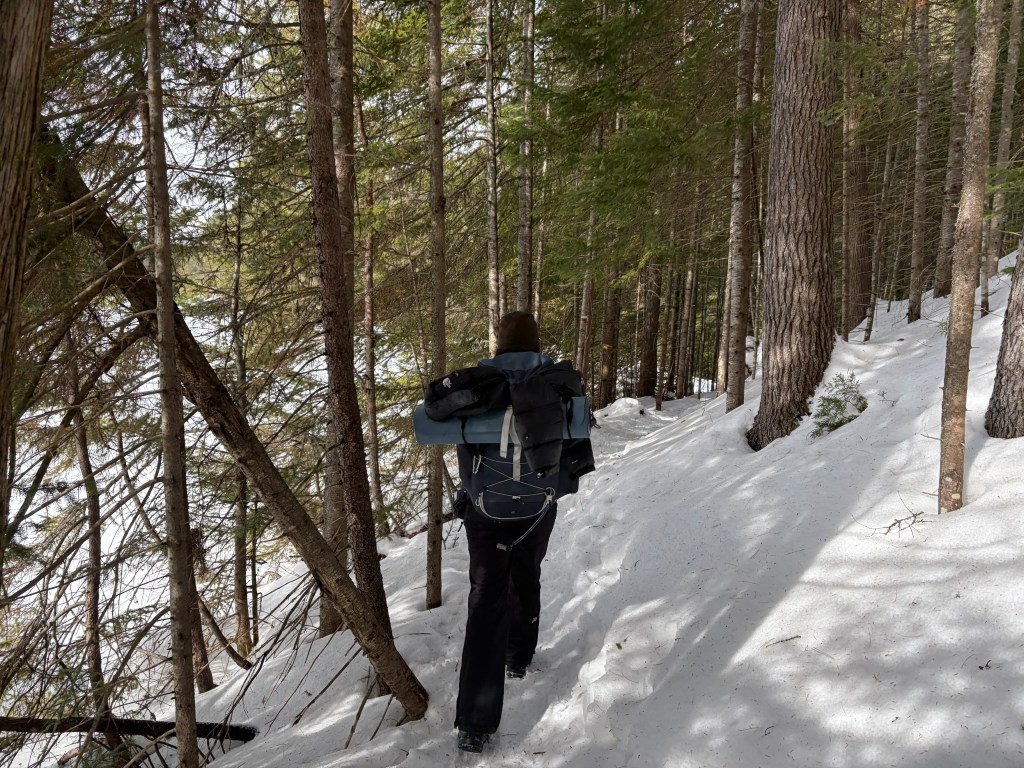
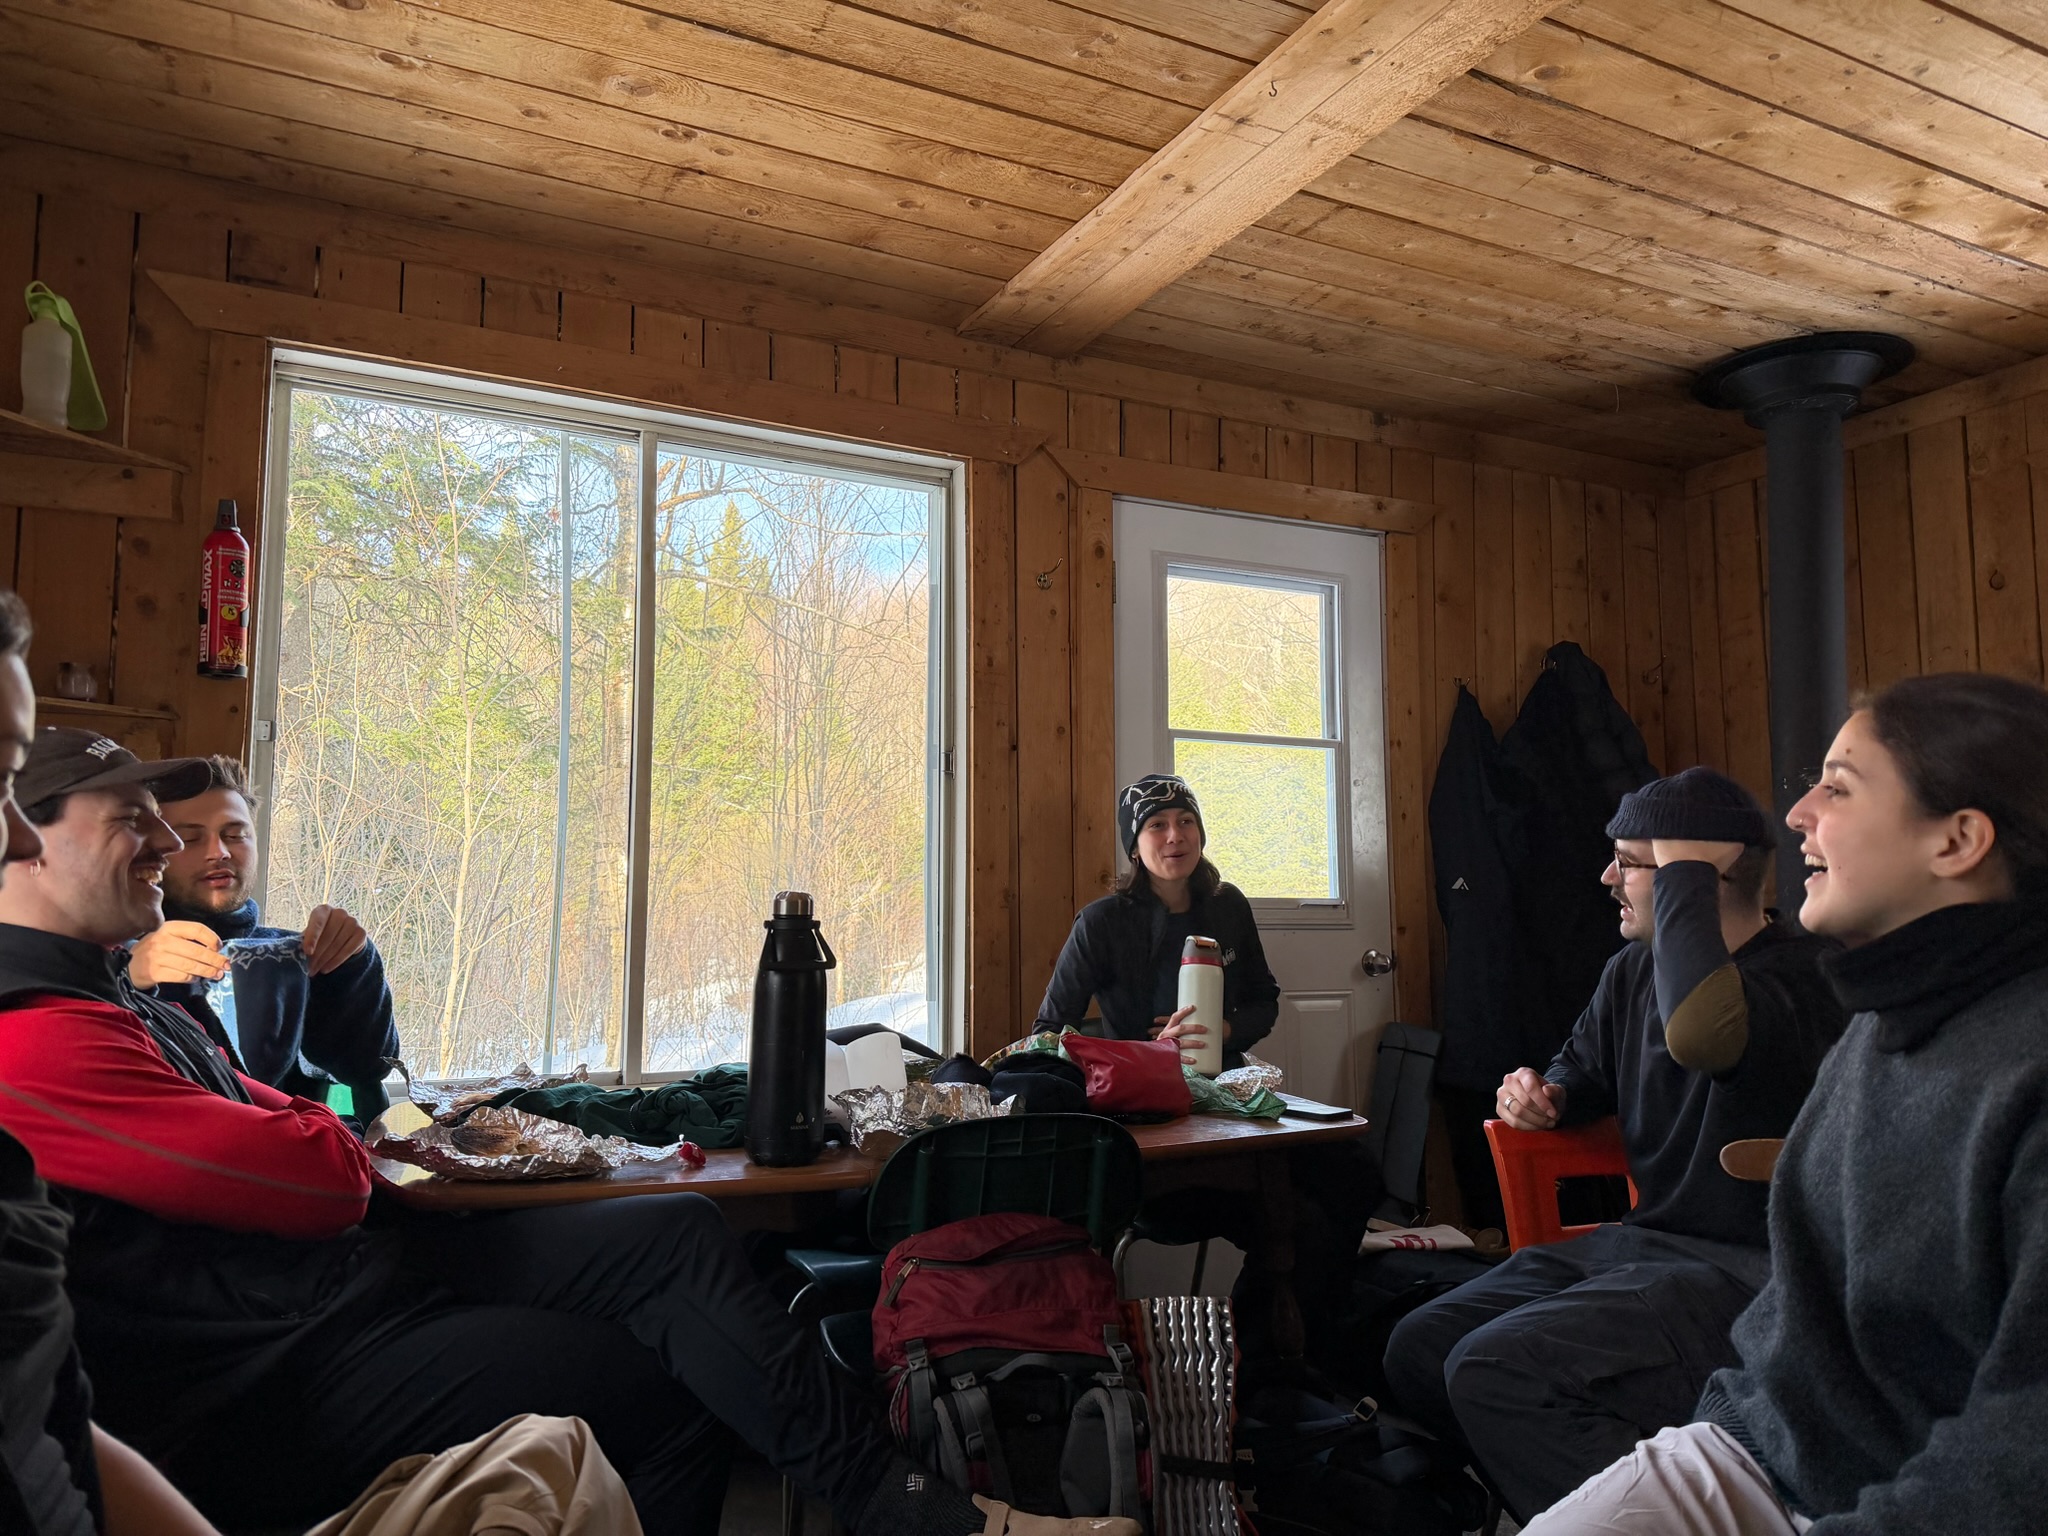
We hiked on the Sentier National in Matawinie, Quebec and stayed in Refuge Lavigne. Like most refuges in Quebec, Refuge Lavigne had a wood stove, an outhouse, wooden bed platforms, and a table and chairs. The park provided firewood and a large stock pot for melting snow for drinking water.
We were lucky that our first day of hiking was quite warm, almost 0°C, however the next day was almost -20°C. We tried to pack as lightly as possible, while making sure we had enough layers for the night and second day of hiking. As with any backpacking trip, it was important to carry just what we needed to keep our backpacks light. We divided collective gear among all of our backpacks so that no one person carried too much weight.
While all backpacking trips have different needs based on weather, terrain, and type of refuge, I hope this list helps you as you plan your next trip!
Also check out: How to plan a winter backpacking trip
To wear for hiking: It’s always best to dress in layers that are easy to add and remove because especially with a heavy backpack, you will get warm while hiking.
- Wool socks: Wool stays warm even if wet! My favorites are from Smartwool. If you do not have wool socks, you can wear synthetic socks but they will not be quite as warm. Definitely do not wear cotton socks.
- Base Layers: Base layers are basically leggings and a long sleeve shirt. While merino wool base layers are the warmest, you can also wear any athletic fabric (like yoga leggings) or synthetic fiber warm gear like Uniqlo Heat Tech, but do not wear cotton.
- Midlayer(s): A midlayer will provide extra insulation between your base layers and your outer shell or jacket. Great options are a wool sweater or a synthetic outdoors fleece.
- Snowpants
- Winter coat or shell: You may not need this for your whole hike, but it is useful when it is very cold or snowing.
- Waterproof gloves: You can layer fabric/knit gloves with waterproof gloves for extra warmth and layering options.
- Toque
- Cache Cou
- Waterproof hiking boots or winter boots: If you do not have winter hiking boots, you can use 3 season/summer waterproof boots with a wool fleece insole to add warmth (found at the pharmacy). Consider bringing extra wool socks to layer if your boots are not well insulated, as long as they do not make your boots too tight.
- Snowshoes and/or crampons: Snowshoes will be helpful in deep snow, whereas crampons are helpful in more steep or icy areas of the hike.
- Hiking poles (optional): Even if you don’t usually use poles they can be nice to have with a heavy backpack to help with balance and carrying the extra weight of your bag.
Personal Gear List: Pack everything in a large backpack, generally a 40-50L bag will fit everything. Winter gear takes more bag space than summer gear, so be sure to account for this in choosing a bag if you have done summer backpacking before. Anything that can’t fit in your bag that shouldn’t get wet (clothes, sleeping bag, etc) should be put in a dry bag and clipped to the outside of your bag
- Warm pajamas or extra baselayers: It’s always nice to have warm, dry gear to put on in case your clothes get wet as you hike. This gives your gear time to dry before your next day of hiking. If your daytime base layers are dry, you can layer them with your pajamas if it is particularly cold at night.
- Wool sweater or fleece: This will keep you warm as you sleep and can act as a second midlayer for the day if it is really cold.
- Extra 1-2 pairs of wool socks: In case your socks get wet as you hike, it is nice to have dry, warm socks ready for when you are done hiking.
- Slippers: These are not essential, but great to put on if your boots need to dry by the fire after hiking. Having slippers also means you are less likely to walk in your boots inside and get snow on the refuge floors.
- Sleeping bag: It is hard to know in advance how insulated and warm your refuge will be as you sleep. Generally, I find sleeping bag for a winter refuge trip should be below 5°C. If yours is not this warm or it is particularly cold out, you can add a fleece sleeping bag liner for some extra warmth. I use the Reactor Fleece Liner from Sea to Summit.
- Sleeping Mat: A sleeping mat will add extra insulation and warmth as you sleep. Generally, a yoga mat or a foam insulated sleeping mat will work. They also can easily clip onto your backpack. I use the Switchback Pad from Nemo. We ended up not needing our sleeping mats because mats were provided in the refuge.
- Essential toiletries: Pack any essential medications as well as your tooth paste, tooth brush, sunscreen, and deodorant. I also pack chapstick, wet wipes, and a mini bottle of lotion. If you want to bring more than the basic essentials, make sure it’s travel sized and something you really need, because weight adds up fast.
- Snacks: Pack a few easy snacks for between meals. Some snacks will freeze so best to stick with nuts, bars, or jerky. These also tend to be nutrient dense, so efficient for the weight of your bag.
- Headlamp
- Bowl, utensils, and a mug
- Water bottle(s)- You should have at least 1.5L capacity, or more if your hike is longer than a half day. Most water sources will be frozen, so it will be hard to fill your bottle throughout the day. It is best to have a good water capacity.
Collective Gear: Group gear should be shared across all backpacks. It is helpful to coordinate this in advance so that you do not have any gear duplicates and end up carrying unnecessary weight.
- Toilet paper in zip sealed plastic bag: Outhouses often do not have toilet paper so definitely pack some. Keep it in a plastic bag to protect it from getting snowy or wet.
- Hand sanitizer
- Backpacking camping stove and fuel: I use the MSR Pocket Rocket because it is really light weight and easy to pack. However, I find it hard to balance a large stock pot for boiling drinking water on top of it.
- Cooking pot: The size depends on the size of your group and what you are cooking. We were a large group so I packed a stock pot.
- Cooking spoon, spatula, and knife
- Cutting board, pan, and cooking gloves: These may not be necessary based on your recipe and cooking method.
- Camping safe dish soap and sponge: While there may be streams available, it is important that you do not wash your dishes in them. Even if soap is camping safe, it does contaminate the water. Make sure when you wash your dishes that you distribute the dish water across the ground far from your water source and use as little soap as possible. Leave No Trace principles say any waste water should be disposed of200ft/60m from a water source, which is a good guideline to follow whenever possible.
- Dish cloth
- First aid kit with Aquatabs: In winter camping, your water source is often melting snow. To make it safe to drink, the melted snow needs to be at a full boil for at least one minute. I always pack Aquatabs in case there isn’t enough fuel or time to boil our drinking water adequately for it to be safe to drink.
- Trash bags: Bring more than one trash bag so you can double bag your trash to carry it throughout your hike without any spilling in your backpack.
- Fire starters and waterproof matches or a lighter: Even if you do not always hike with fire starters, I definitely recommend packing them just in case the wood provided is wet or hard to light.
- Camping lamp: This is not necessary if you are really working to pack light, but lovely to have because the sun sets quite early in the winter.
- Playing Cards: These are not essential, but make your trip so much more fun.
Let me know if you have anything else you like to bring winter backpacking or if you have any questions about how I planned my trip. You can reach me by DM or email, or leave a comment on this post!

Leave a comment