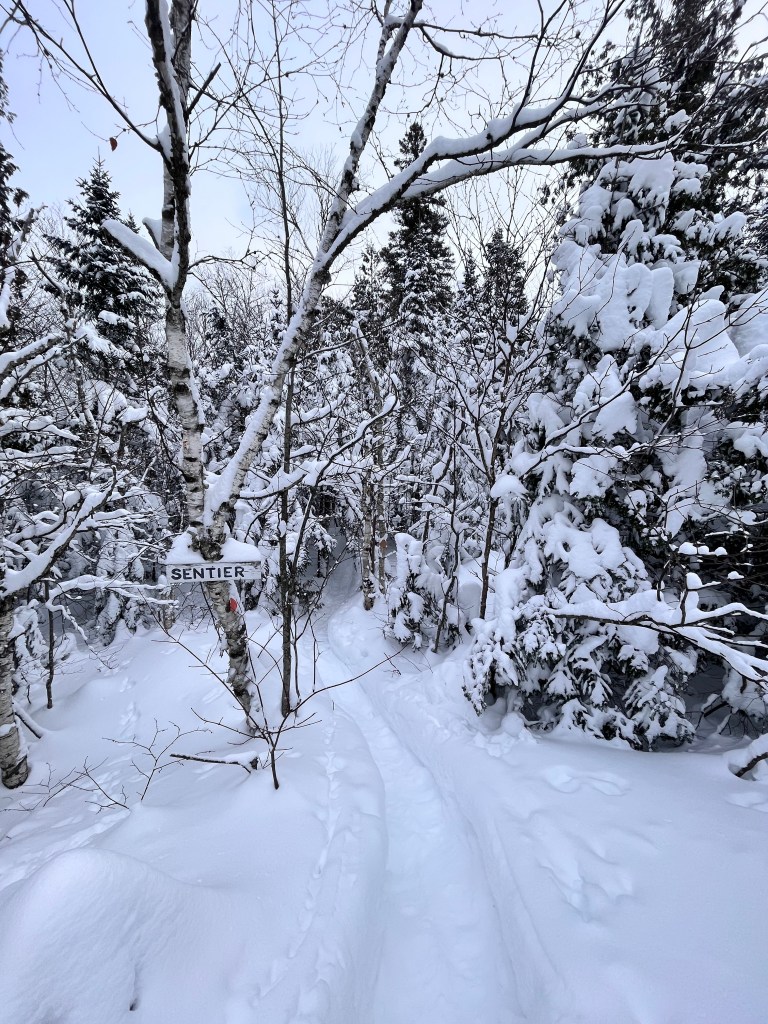
Winter hiking is one of the few activities that makes me romanticize frigid, snowy winters. I find hiking in the snow is so peaceful and quiet. Snow can completely change the landscape and features of hikes you may know well. Growing up in a warm place without much snow, I was quite intimidated when I got started. However, winter hiking is so beautiful and an inexpensive way to enjoy the outdoors.
If you live in a cold place you probably have most of the gear you need already to get started! If ever you feel intimidated, start with smaller hikes with a friend or a group to get used to hiking. You can even test your gear with a walk around your neighborhood and see how warm you feel and adjust accordingly.
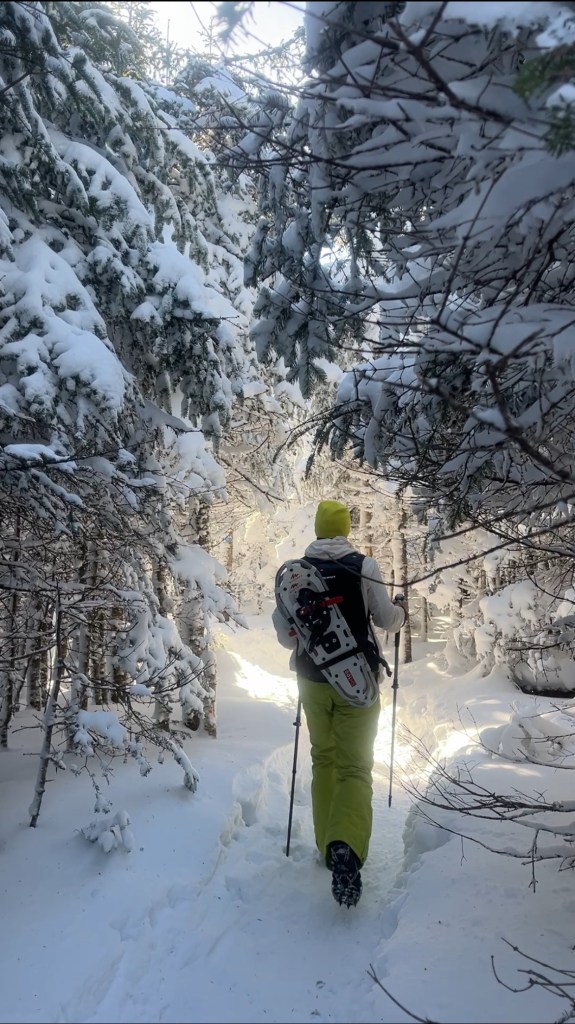
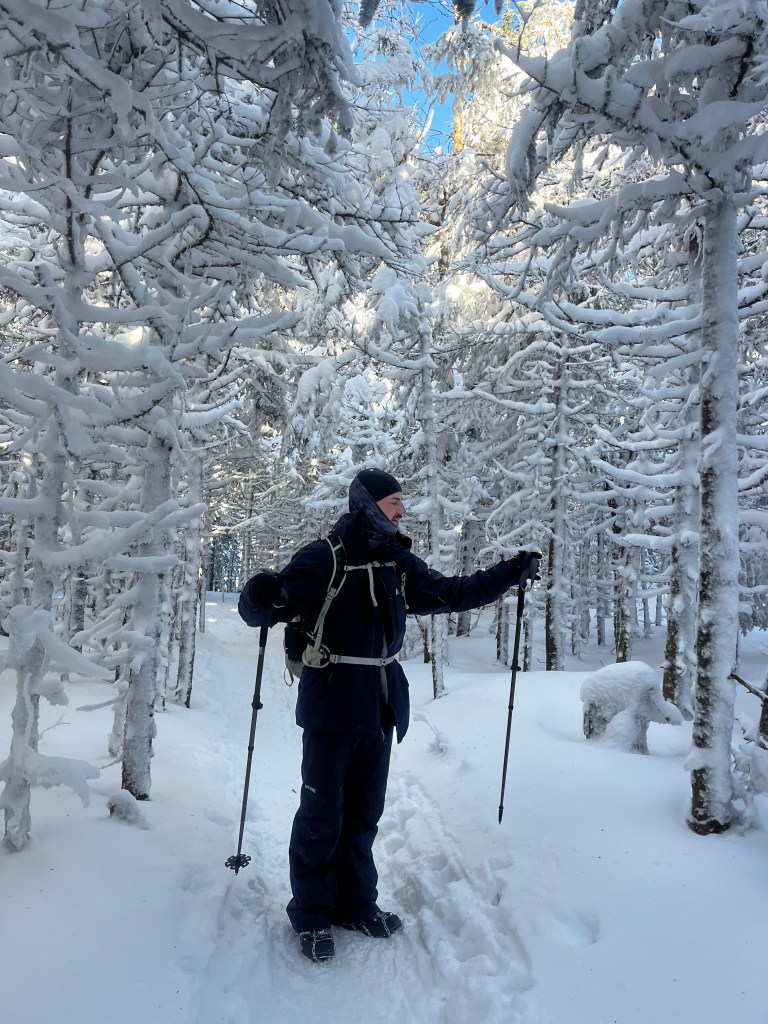
My biggest issue when I started winter hiking was to know how to dress and what to bring. It’s so cold, but as you start your hike you warm up quickly, then inevitably get cold again at the summit and for your hike down. My best advice is to wear multiple layers rather than having one warm layer and to prioritize wool base and mid layers with waterproof outer layers. Having lots of layers means you can easily add or remove layers as you hike to avoid getting sweaty. The danger with sweating as you hike up a mountain is that sweat can easily freeze as you reach the summit or as you hike down, leaving you colder than if your layers were dry. While winter hiking, I have learned to get comfortable being a bit cold because it is much better in the long term than sweating. Try to avoid cotton as well. Even though it is a natural fiber it dries quite slowly making it not ideal for a snowy, sweaty hike. I recommend wool layers because they are warm even if they are wet!
My Checklist:
Clothes (details below)
- Wool socks
- Waterproof hiking boots or winter boots
- Base Layers
- Midlayer(s)
- Snow pants
- Winter coat, shell, or raincoat
- Waterproof gloves
- Scarf, Cache Cou/Neck warmer, or Balaklava
- Winter hat/Toque
Gear (details below)
- Backpack
- Headlamp
- Extra wool socks and a midlayer
- Snacks
- 2 Water bottles
- Sunscreen
- Trash bag
- First Aid Kit (trail dependant)
- Snow shoes and/or crampons (trail dependent)
- Hiking poles (optional)
- Toilet Paper (Optional)
- Hand/Foot warmers (optional)
Safety Notes
When you are winter hiking, be sure that someone knows when you start your hike and when you plan to finish your hike! I often will send the name of the trail I plan to do as well as a map of this trail to a friend or family member. I find this essential particularly if you are hiking alone or at a site with no facilities/welcome center. When I get to the summit, if there is cell service, I will often send another text just to update them if my timing has changed at all or to let them know I am about to climb down. If you anticipate not having service at the park, send a message while you pass through the closest town to the park and of course let your friend know you may not have service as you hike.
Be that you know you can get in and out of your parking spot easily after your hike. Having things like winter tires, an ice scraper, and a snow shovel in your car are definitely helpful. As you are getting to a hike, consider the existing snow and ice conditions of the road and parking area as well as how these conditions may change during your hike. Slush may freeze to ice and there may be more snowfall throughout the day. Additionally, note that smaller back country roads near your hiking destination may not be well cleared or well salted, so drive slowly and cautiously!
Lastly, read up on the safety considerations in the area where you are hiking. They are not common in Southern Quebec, but your trail may have avalanche prone areas or other hazards. You should check the park’s website and trail maps before hiking for information on any hazards. Make sure you or someone you are hiking with have the safety information, training, and equipment needed to address emergencies.
Clothes Details
Wool socks:
Wool socks on a winter hike are absolutely non-negotiable for me. Unlike synthetic or cotton socks, wool socks will keep you warm even if they get wet, which is likely to happen on a snowy hike. My favorites of the moment are the Smartwool cold running socks or my merino wool ski socks. Make sure when buying merino socks that they are for winter use because many brands have thin wool socks for all season or warmer weather hiking which will have less insulation.
Waterproof hiking boots or winter boots
If you are just getting started or don’t plan on winter hiking often, it is best to work with the gear you already have. For a winter hike you can wear waterproof regular hiking boots, ideally boots that go above your ankle if you have them. If you’re using 3 season/summer hiking boots you can add a wool felt insole to add warmth to your boot. I bought some at the pharmacy but you can also find them at any outdoor store. If your boots do not have large treads on the bottom, be sure to pack crampons or snowshoes for grip as you hike.
You can also look into winter specific boots if you are interested. These boots tend to have more insulation and tread grip than your standard waterproof hiking boot. I absolutely love my Merrell insulated winter boots with vibram soles. I find they are waterproof, have a good grip, and keep me super warm. I have had them for a few years and they still look good as new even though I have worn them on so many hikes and walks around town on particularly cold and snowy days. In my experience, definitely a good investment for a long lasting durable boot! They do not sell the exact model I bought anymore, but have a few other options available.
I got Decathlon winter boots when I was first starting, and I find they are not quite as warm but they definitely function for a more casual day hike. I took them on a winter backpacking trip and found that they worked for day hikes but not for longer hikes or multiday hikes. They were not very waterproof, not warm on very cold days, and wore down fairly quickly. My boots only lasted one winter of regular hiking. While they were inexpensive, I wish I had bought a more durable pair that would last longer especially considering how often I hike.
Base Layers
The best base layers are merino based! Just like the wool socks, they stay warm even when wet which is great if you sweat at all as you hike. If you do not plan on doing many winter hikes or other winter sports, you can just as easily use any leggings and athletic long sleeve shirts (not cotton) that you already own. If you would like a budget option, I find an inexpensive synthetic alternative to merino is Uniqlo Heat Tech, especially the cashmere long sleeve top, which is so warm. Their cashmere shirts tend to be a bit thin and can be prone to tears, however they are so soft and so far have held up very well except for a few small holes and pulls on the sleeve ends.
I personally would not invest in synthetic base layers, as they tend to be not as warm as wool and they get dirtier/smellier faster than wool which is anti-michrobial. For merino layers, check out wool specific brands like Smartwool or Ibex, or any outdoor retailer, ski shop, etc.
Midlayer(s)
Mid layers do not have to be what you may consider as traditional outdoor wear. If you have a pure wool sweater this would be a great midlayer! Other midlayer options are fleeces or insulated layers. These are often easy to find at the thrift store, especially if you are near any popular hiking or camping areas. Try to avoid hoodies or sweatshirts because the cotton will take a long time to dry if it gets wet or sweaty.
Snowpants
I hike in thrifted Columbia snow pants that definitely do the trick! The most important features of snow pants are that they are water resistant or water proof to keep you dry and that they keep you warm when paired with your base layers- but not sweaty.
My absolute dream would be to have water-proof shell snow pants with side zips so that they are breathable as I hike so I can cool off on tougher climbs. I find my insulated snow pants get warm quite quickly on mountain hikes. However, these tend to be harder to find second hand and more expensive- so they are worth it if you hike often or can use them for multiple sports (ski, snowboard, etc), but definitely not necessary. If you would like to buy some, most ski companies sell these- look in their backcountry or freeride collections rather than resort ski as these will not be insulated and will likely have features like side zips.
Winter coat, shell, or raincoat
I tend to alternate between using a sturdy raincoat or a winter coat depending on the weather. I use a rain coat because it is waterproof, windresistant, and keeps my midlayers dry. However, raincoats can make you a bit humid and trap in moisture and sweat since they don’t have pit zips or other ways to improve air flow. I find myself taking on and off my raincoat often during hikes.
Like snow pants, my dream would be to have a waterproof shell jacket with good pockets to easily access anything I may need as well as pit zips so that I can cool off without removing a layer. A winter shell is not at all necessary for winter hiking, but can make it more comfortable and can be used for other winter sports like skiing and snowboarding. Shell jackets with these features are generally found in backcountry or freeride collections by sports/ski brands rather than resort ski collections.
If it is really cold, you can bring an insulated winter coat! As mentioned before, I tend to prioritize layers over one big coat so that you can add or remove them as needed. However, a more insulated jacket can be nicer for particularly cold days, hikes where you may want to take more breaks, or if the hike is fairly flat and you would not need to adjust your layers often. If in doubt, I will pack my down puffer in my day pack because it condenses quite well or clip it with a carabiner to my bag.
Waterproof gloves
Keeping your hands dry and warm helps so much with the comfort and safety of your hike. I definitely recommend prioritizing a waterproof option, especially if you like to play in the snow as you hike. You can layer fabric/knit gloves with waterproof gloves for extra warmth on particularly cold days. I have a multilayer glove system I started using this winter which is a base layer of simple running gloves, a midlayer that is insulated, and a waterproof shell mitten that goes over all of it. I love how easy it is to add and remove layers based on what I am doing particularly as someone with chronically cold hands. I got the waterproof shell at Decathlon.
Cache Cou/Neck warmer or Balaklava
If your hike is not very long or not very cold, any scarf will do. For colder windier hikes where you will need to cover your face, choosing between a cache cou and a balaklava is really up to personal preference. This should be a thin, breathable layer that you can pull up over your nose to protect your face from cold and wind. It also acts as great sun protection! I really love my merino cache cou because it dries quite quickly, stays warm even with condensation from my breath, and feels more fresh for multiple days of hiking. It also works well for winter running and skiing, so I get a lot of use out of it. I have had a balaklava and a cache cou, and while I find Balaklavas are easier to adjust as you hike, I like using a cache cou instead because I have the option to pull it all the way down like a necklace if I am getting too warm.
I got my cache cou from Arc’teryx, however many outdoor brands with ski clothing, winter running gear,or wool outdoor wear brands have merino cache cou in various price ranges, including Ibex, Icebreaker, Smartwool, and Decathlon.
Winter hat
Any toque or beanie will do! Just make sure it can fully cover your ears.
Gear Details
Backpack
A simple day hiking pack or standard school backpack will do, however, it is helpful to use a somewhat water resistant backpack to protect the contents of your bag from snow. For winter hiking, I use my Marmot ski touring backpack (no longer sold in Canada it seems) which is slightly more insulted than a standard backpack and has an easily accessible main pocket to pack my extra layers, snacks, safety gear, and water bottles. While this is definitely handy, it is also not necessary for most winter hikes.
Headlamp
It gets dark early in the winter! I always have a fully charged headlamp in my pack, even if I leave on my hike first thing in the morning, to make sure that I am ready if my hike takes longer than planned.
Extra wool socks and a midlayer
I always bring extra layers in my pack in case it gets colder than expected, my layers get wet, or there is an emergency and I cannot hike as quickly as I anticipated or I need to shelter in place. Generally an extra midlayer and an extra pair of socks will do. These can also be nice if you want to stop and enjoy the summit or a nice view without getting too cold.
Snacks
Having food on your hike is essential! Not only are you using energy to hike, your body is using quite a bit of energy to stay warm. I prioritize easy to grab snacks that will not freeze that you can eat as you move and/or with your gloves on in case you are too cold to stop. I pack natural granola bars like Henri but you can also pack jerky, Pemmican, or mixed nuts and fruit.
2 Waterbottles
I always pack 2 water bottles on my winter hikes. Not only is it nice to have a good amount of water as you hike, it is also easy for your water bottles to freeze shut on cold days. While it is less accessible, it is best to keep your water bottle inside your bag rather than inside pockets so it is less likely to freeze. I find my wide top nalgene is the best for winter hiking because it will not freeze shut like any button or straw water bottle systems and if the water freezes at all, I have enough space in the opening to break up the ice. I generally pack both my 1L and my .5L bottles.
Sunscreen
Be sure to put on sunscreen regularly while winter hiking, even if it is not sunny. The sun will reflect off of the snow and can leave you with a nasty sunburn. I love stick sunscreen for hiking because it is lightweight, does not spill, and is generally in small packaging. I use the Attitude tinted SPF cream or the Attitude mineral sunscreen face stick, but I tend to prefer the SPF cream because it also moisturizes which is super helpful in the winter for cold, dry skin!
Trash bag
I always keep a small trash bag for any wrappers or trash I may have in my backpack. This way, I can keep the trail as clean as when I arrived or even pick up trash I see without it just floating in my backpack.
First Aid Kit
It is always good practice to keep a small first aid kit in your hiking back pack. This is definitely not necessary on short hikes or hikes where you are never far from the welcome centre, but if you own one, just pack it! In ice and snow or more technical trails it can be easy to twist an ankle or knee when you are beginning to do winter hiking, so I tend to pack a soft wrap in my first aid kit. This may not come with your first aid kit, but can be bought at any pharmacy. Also for winter, make sure you add a foil blanket in your first aid kit!
Snow shoes and/or crampons (trail dependent)
To figure out what gear you need, you can often check the snow conditions on a park’s website, or you can give them a call! Some parks even have regulations of what gear you must wear for their trails.
If it is a commonly hiked trail and it has not snowed in the last few days, I find hiking crampons usually do the trick. They also are quite useful in icy conditions. However, if you are going to an area with heavy snowfall or less traveled paths, snowshoes may be necessary. If you are hiking a flatter more groomed trail, you may not need snow shoes or crampons!
You do not need to buy your own crampons or snowshoes. You can choose a hike in a park with rentals, borrow them from your public library (thank you, Montreal), or rent from a local sports/ski shop. Particularly if you are renting them from a park, reserve them in advance if possible especially if you are hiking on a weekend or holiday because they can sell out quickly!
Hiking poles (optional)
Choosing if you use hiking poles is really up to personal preference! They can be great for stability on longer hikes, if you are carrying a heavy pack, or if you tend to have knee pain or feel unsteady on your descent.
If you are using all season hiking poles, make sure you add snow baskets/attachments (a disk) to your hiking poles so they do not sink into the snow as you hike. These tend to be around $5-15 at hiking stores. They are not one-size-fits-all, so check you are buying baskets compatible with your poles. You can also use ski poles to hike, but since they are generally not collapsible, you cannot put them in your pack and will need to carry them the whole hike.
Toilet Paper (Optional)
For hikes that only have outhouses, I always bring my own toilet paper in my bag. While outhouses at a trail head may have toilet paper, outhouses on the trail are unlikely to have toilet paper, especially in the winter. I always pack mine in a dry bag or old shopping bag to ensure it doesn’t get wet in my day pack. Your emergency toilet paper also works well as tissues if you get a runny nose! Make sure any toilet paper you use ends up in an outhouse or in your trash bag.
Hand/Foot warmers (optional)
I personally never use these while hiking, but I know many people who enjoy having warmers in their gloves or boots! They are light and easy to pack just in case you may want them. They are sold at most outdoor stores and pharmacies.
If you think I am missing any gear on my list, send me an email or DM! I would love to hear from you!

Leave a comment